jan . 29, 2024 16:21 Back to list
How To Make Hydraulic Hoses?
Crimping a hydraulic hose is a crucial aspect of any hose assembly. With several fluids or gases in motion over extended periods of time, the crimp should be just right so that the hose does not damage the application.
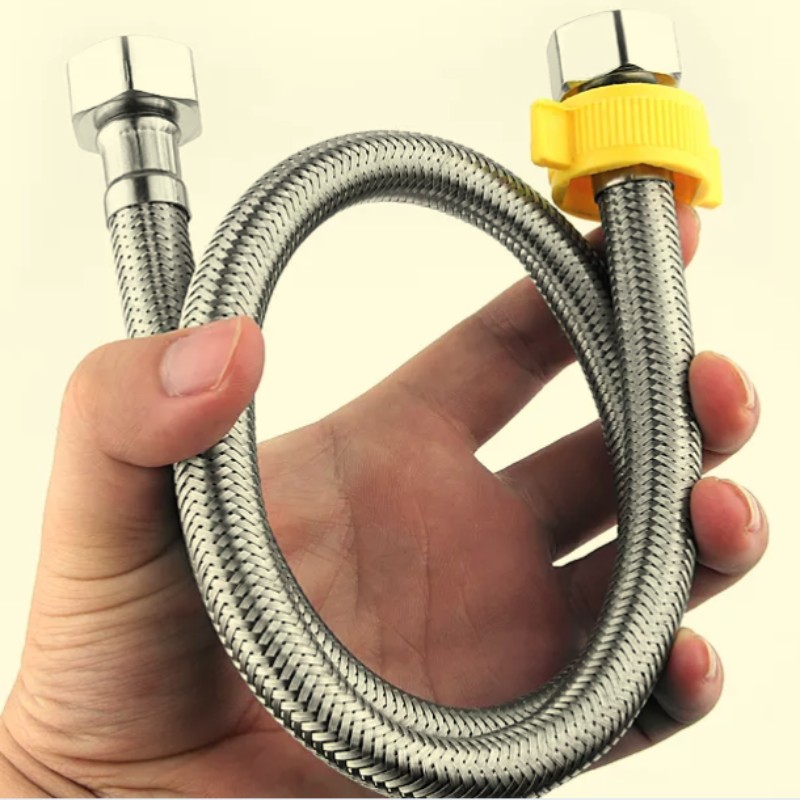
FLEXIBLE STAINLESS STEEL METAL HOSE
When using a crimp machine, it is important to know exactly how to use it to ensure consistent, high quality hoses every time. Below is a step-by-step guide to follow when crimping your hydraulic hose.
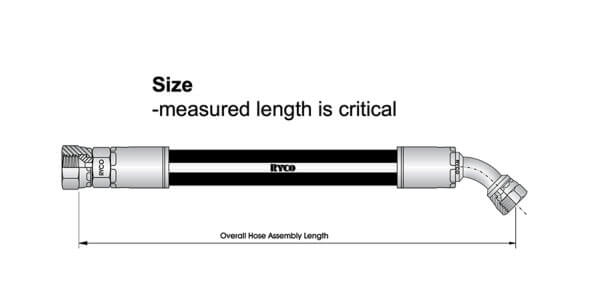
Step 1: Measure and cut the hose
Measure the length of hose that you need and cut it to size with a hose saw.
Step 2: Select fitting series
When selecting a fitting series, consider the working pressure, style, type, orientation, attachment methods and material for its corrosion resistance.
Step 3: Mark insertion depth and push on the hose fittings
Determine insertion depth of the fitting by utilizing a hose insertion depth block. This mark will indicate when the crimp fitting is properly seated on the hose.
Step 4: Load in the correct specifications
Choose the correct crimp diameter for each hose assembly.
Step 5: Select the die
Crimper dies are specifically designed for certain hoses and fittings, so make sure to verify the die is set to the correct specifications.
Step 7: Place the hose in the crimping machine
Push the end of the hose into the crimping machine (typically bottom loading) and through the die so that the hydraulic hose fitting appears above the die. The top of the hose, now concealed inside the fitting, should not be above the die.
Step 8: Crimp the hose
Your hydraulic hose is now ready to begin crimping. Turn on the machine. The cylinder head will slowly move down. As it pushes the collar, the collar compresses the die. Do not touch the machine until the collar is firmly at the bottom of the die. The machine should then stop.
Step 9: Verify the crimp diameter
Check the chalk mark which you made on the hose. If it is no longer at the base of the fitting, it means the hose or the fitting moved during the crimping. However tight it may seem, this is not a good crimp. Otherwise, if the chalk mark is in place, you have successfully crimped the ends of the hydraulic hose. Measure the crimp diameter on a flat surface of the crimped shell and verify the crimp diameter referenced on the decal. Never use hose assemblies with incorrect crimp diameters.
Step 10: Clean hose assembly
Next, you need to remove contaminants within the hose, especially on larger diameter hoses. You can do this by using a hose brush, compressed air system or projectile pellets
Step 11: Cap hose assembly
After you clean the hose again, it is a good idea to cap the assembly on both ends. You can use plastic caps or heat shrink caps.
By following these steps as your guideline, you should achieve a properly assembled hose.
-
Durable 3/8 Rubber Air Hose - GPT-4 Turbo Model
NewsAug.02,2025
-
Premium 3/8 Rubber Air Hose | Durable & High-Pressure
NewsAug.01,2025
-
Durable 3/8" Rubber Air Hose | High Pressure Resistant
NewsJul.31,2025
-
3/8 Rubber Air Hose: Flexible, Durable High-Pressure Air Line
NewsJul.31,2025
-
Durable Rubber Air Hose 3 8 - High Flexibility & Heat Resistance
NewsJul.30,2025
-
Durable Rubber Air Hose 3 8 – Heat & Pressure Resistant, Versatile Use
NewsJul.29,2025


