Янв . 29, 2024 17:41 Back to list
How To Conduct Hydraulic Hose Repair And Keep Operations Running Smoothly
Leaking Hose? Here’s What Proper Hydraulic Hose
Repair Looks Like
Hydraulic hoses are designed to carry fluids while under great pressure. This way, they can perform a wide variety of tasks in your industry. But while these hoses are built to withstand external and internal hazards, the reality is these items are still susceptible to damage and leaks. What do you do when this happens?
To ensure you’re prepared for such an event, here are essential hydraulic hose repair tips you can rely on to remedy the situation as quickly as possible.
Determine Which Hose And Hose Components You Need To Make Hydraulic Hose Repairs
Hydraulic hoses are not one-size-fits-all. Most equipment can perform multiple functions with the support of hydraulic hoses. So knowing which hose will be able to withstand the pressure of the water is critical to a successful repair.
A simple acronym you can memorize for proper hose repair is STAMP:
- Size
- Temperature
- Application
- Media
- Pressure
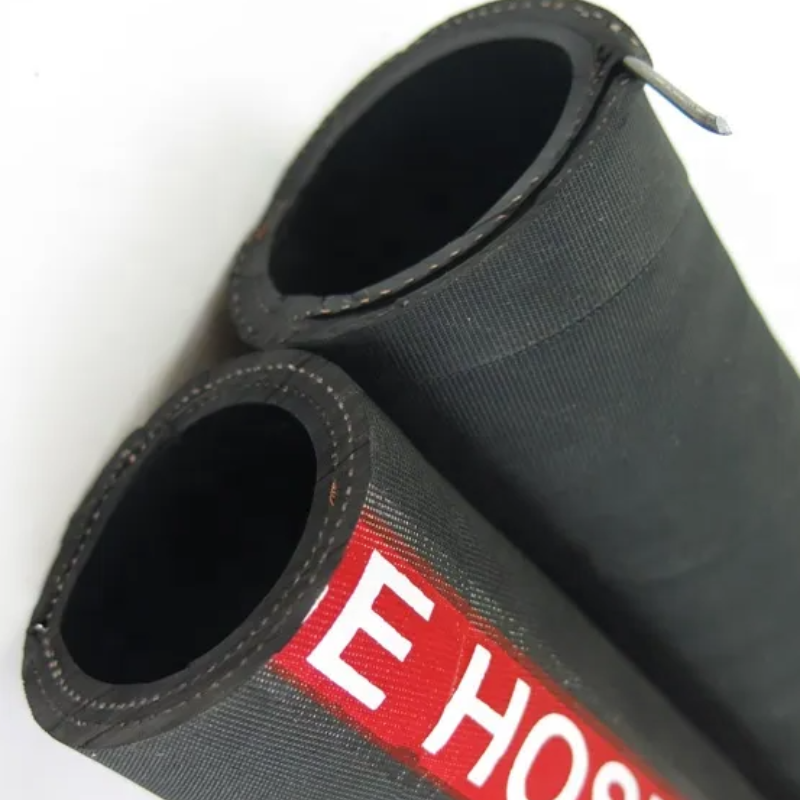
SUCTION AND DELIVERY HYDRAULIC HOSE SAE 100R4
You can use these factors to help you choose the right hose for your personal needs. If you’re still not sure which hose is the right one for your repair, reach out to us for professional support.
Remove The Damaged Area And Ensure You Have The Adapter And Correct Hose Length
Carefully remove the area that’s damaged and make sure there’s no debris that could potentially enter the machine and affect hydraulic fluid.
Once you’ve done that, make sure you have the hydraulic adapter (if necessary). Keep in mind, if you do have the right hydraulic couplings, having adapters may not be required. And take note of angled fittings as you will need to install them before adapters or couplings.
The length of the hose also plays a major role in hose repair. Because when a hose is stretched too much or poorly routed, it’s more susceptible to being stressed. This can lead to another break and cause a leak. So remember this:
Too much hose is better than too little, but it’s best to get it just right.
Install, Tighten, Seal And Test
Once everything’s been measured and you have all the needed tools, you can finally do the installation part of the hose repair process. Route the hose to each end of the equipment and make sure you tighten the hose with just enough torque. Not using the right amount can affect the hydraulic system.
And by the end, you should have a firm seal with no cracks where liquid can escape.
You can finally test your new hose to see if the repair worked properly. Turn on the equipment and apply low pressure. Then run your machine for several minutes and check for leaks with cardboard or paper to avoid injury. If there are no leaks, you’ve successfully repaired your hydraulic hose!
-
Premium Rubber Air Hose 3/8 Inch - Durable & Flexible
NewsAug.05,2025
-
Premium 3/8" Rubber Air Hose - High Strength & Flexible
NewsAug.04,2025
-
Rubber Air Hose 3/8 - Durable & High Pressure Industrial Grade
NewsAug.03,2025
-
Durable 3/8 Rubber Air Hose - GPT-4 Turbo Model
NewsAug.02,2025
-
Premium 3/8 Rubber Air Hose | Durable & High-Pressure
NewsAug.01,2025
-
Durable 3/8" Rubber Air Hose | High Pressure Resistant
NewsJul.31,2025

