Whether you own and drive a vehicle, operate a heavy piece of machinery, or regularly use some other type of large industrial equipment, there is a very high probability that you rely on hydraulic hoses every day to use these things. So when one of your hydraulic hoses ends up with a leak or has just broken down after years of use, it is imperative that said hose is repaired as quickly as possible.
Your best and safest option for when this happens is to call a professional hydraulic hose repair technician right away. This way, you know they will get the job done swiftly and correctly, saving you time and money and keeping you safe.
However, if you are curious about the repair process and what typically happens when a professional technician is fixing hydraulic hoses, take a look at the six common steps that are taken.
1. Find The Right Hose: Before you do anything else, you have to identify which hose is in need of repair. It is absolutely imperative that you keep in mind how risky it is to swap in a temporary hose that is not the exact type of hydraulic hose needed in that area. Before replacing the broken hose, familiarize yourself with the precise burst pressures on that specific hydraulic hose. If you aren’t feeling confident about which hydraulic hose that needs repair and how to replace it with the right substitute hose, the best thing you can do is seek the professional advice of a hydraulic hose repair technician and have them do the job for you. This way, you aren’t getting involved in a potentially dangerous situation.
2. Get Rid of Damages: Upon completion of the first step, the next thing you will need to do is completely remove the damaged part of the hydraulic hose. Before you move forward with repairing the hydraulic hose, you need to make sure the area has been completely cleaned. Even the most seemingly insignificant amount of dirt, dust or debris will end up contaminating the internal parts of the hose, thus leading to an even more expensive repair job. Double check the fittings and the hose (specifically the area that has been cut) to ensure everything has been properly cleaned before moving forward with the hose repair.
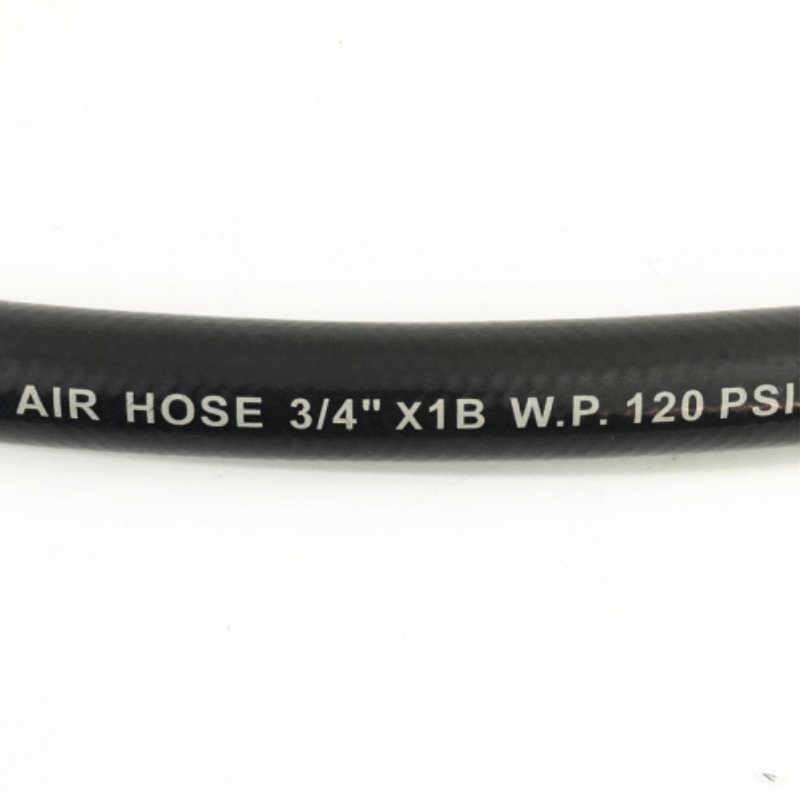
LOW PRESSURE AIR & WATER RUBBER HOSE
3. Have an Adapter on Hand: Sometimes, but not always, a hydraulic hose repair job won’t be completed until an adapter is used to finish the installation. It is possible that you might not have the exact hydraulic adapter size needed to repair the hose. In this case, the best thing to do is have an adapter kit with multiple types of adapters. It cannot be stressed enough that when installing the hydraulic adapters into the correct ports, you need to use the proper method of torquing. By torquing (tightening) the adapters the wrong way, you risk messing up the repair job entirely. If you are unsure of how to install hydraulic adapters or if you even need them for the repair, it is in your best interest to consult the hydraulic hose manufacturer or recruit the professional services of a hydraulic hose repair expert.
4. Make Sure You Have The Right Length: If you get a hydraulic hose replacement that is too short, it’s going to get stretched out pretty quickly, leading to too much pressure and more fatigue than it’s supposed to handle. Not only will this new hose end up breaking faster in the long run, it is dangerous to rely on an overstretched hose and it will lead to expensive repairs. Though it would definitely be better to have a hose that is too long rather than a hose that is too short, the safest option is to have a new hose that is exactly the right length. This is why having a professional hydraulic hose repairman doing the job is so handy. They will know how to measure the area and provide you with the exact hose length needed to complete the repair. Additionally, a professional technician will not only get the right hose length, they’ll know how to route it the right way. By having a properly routed hydraulic hose, the entire system will be able to function optimally and the way it was intended to.
5. Have The Hose Sealed Properly: The new hydraulic hose needs to be securely sealed otherwise the whole hydraulic system will suffer from a small hole or gap in the area. It might seem daunting to have to get this step “just right” so all of the stress of the repair process can be eliminated by having the help of a professional technician. They have the experience and knowledge necessary to seal the hose properly without making it too tight. They will also have the proper tools to install the new hose. Keep in mind it is extremely important that you never twist the hose when installing it.
6. Confirm There Are No Leaks: Once the installation is complete, the last thing you need to do is make sure there are no leaks in the new system. To do this, you will need to let a small amount of oil or hydraulic fluid flow through the new system at low pressure. This will allow you to confirm everything is running smoothly and there are no remaining leaks or damages. By circulating fluid at low pressure, you’ll also be able to remove any air that is still trapped in the hose. You want to remove air as quickly as possible so that you don’t run the risk of damaging international components. If you’re not sure how to circulate fluid through the new system, a hydraulic hose technician will be able to help.

