Oca . 29, 2024 16:38 Back to list
Step-By-Step Hydraulic Hose Assembly
Are you looking for step-by-step instructions for making a hose assembly? The basic method of making a hose assembly is the same for every machine and we’ve outlined the steps below or you can watch the video that outlines the steps from a recent hose school training session.
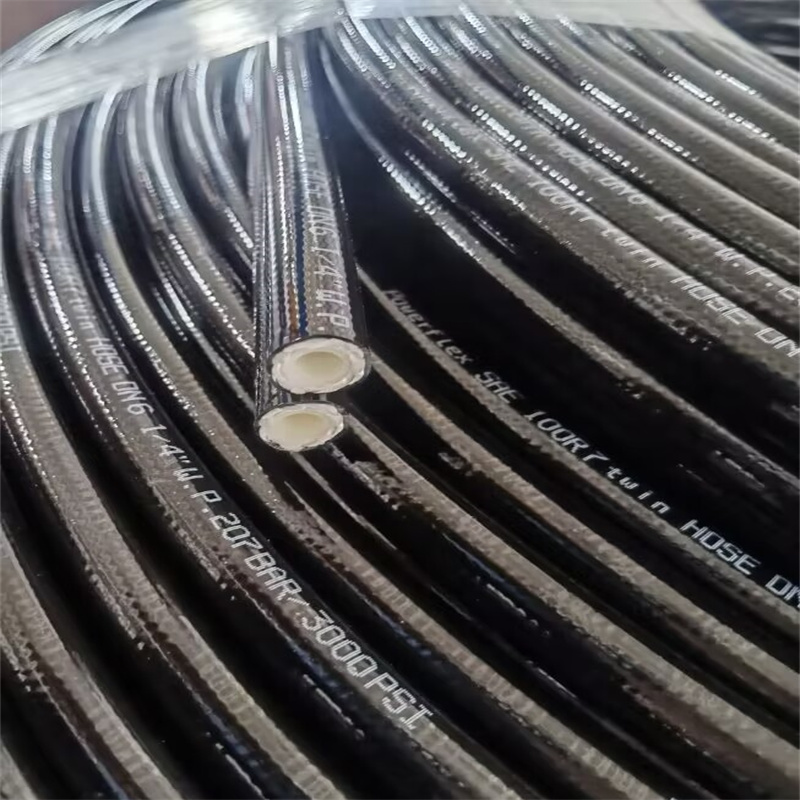
THERMOPLASTIC TWIN HOSE SAE 100 R7/ EN 855R7
Step 1: Gather required tools and materials for the project
Step 2: Measure the hose and cut
Measure the length of hose that you need and cut it to size with a hose saw. For critical hose lengths, make sure to account for the cutoff factor when determining final length of hose. After cutting the hose, you should have a clean edge and if not, use a file to clean the ends. Saws have different cutting specs so make sure to compare capabilities. Make sure to clean hose ends to reduce contamination and hose assembly failure.
Step 3: Select fitting series
When selecting a fitting series, consider the working pressure, style, type, orientation, attachment methods and material for its corrosion resistance. It is very important that you do not interchange hose and fitting brands.
Step 4: Mark insertion depth and push on the hose fittings
Determine insertion depth of the fitting by utilizing a hose insertion depth block. Draw a thick chalk line around the hose to identify the insertion depth. Lubricate hose if necessary, however, do not lubricate if using spiral hose. Push the hose into the fitting until the mark on the hose is even with the end of the shell.
Step 5: Verify crimper capabilities and adjust the crimper setting
Crimpers are specifically made to crimp specific hose diameters. Therefore, you should confirm the capabilities of the machine and adjust settings as necessary. Make sure to choose the correct crimp diameter for each hose assembly. Use Crimpsource for specific technical specifications.
Step 6: Select the die
Select the appropriate crimper die set. Crimper dies are specifically designed for certain hoses and fittings so make sure to verify the die set by using the crimper decal. You may also use Crimpsource for specific technical specifications. If necessary, lubricate the die bowl using a premium quality lithium-base grease.
Step 7: Place the hose in the crimping machine
Push the end of the hose into the crimping machine (typically bottom loading) and through the die so that the hydraulic hose fitting appears above the die. The top of the hose, now concealed inside the fitting, should not be above the die. For Parker crimpers, rest the bottom of the fitting on the die step, which are featured on Parker’s Karrykrimp, Karrykrimp 2 and Parkrimp crimpers.
Step 8: Place compression ring
If required, now is the time to place the compression ring on the step of adapter bowl. Reference the decal on the crimper for tool selection.
Step 9: Put on safety equipment
At this point, put on your safety equipment. You must wear goggles, ear protectors and strong, protective gloves.
Step 10: Crimp hose
Turn on the machine - the cylinder head will slowly move down. As it pushes the collar, the collar compresses the die. Do not touch the machine until the collar is firmly at the bottom of the die. The machine should then stop. Almost all machines have a built-in safety system so that if the die are displaced, the machine cuts out.
Step 11: Verify the crimp diameter
Check the chalk mark which you made on the hose. If it is no longer at the base of the fitting, it means the hose or the fitting moved during the crimping. However tight it may seem, this is not a good crimp. Otherwise, if the chalk mark is in place, you have successfully crimped the ends of the hydraulic hose. Measure the crimp diameter on a flat surface of the crimped shell and verify the crimp diameter referenced on the decal. Never use hose assemblies with incorrect crimp diameters.
Step 12: Clean hose assembly
Next, you need to remove contaminants within the hose, especially on larger diameter hoses. You can do this by using a hose brush, compressed air system or projectile pellets, which are included in Parker’s cleaning kits. After you a shoot the projectile, you should visibly check the projectile for contamination. Repeat the process until the projectile has no signs of rubber or metallic particles on it. If the projectiles continue to show rubber particles, the hose may need to be replaced. This is usually a sign of a rubber tube that is failing.
Step 13: Cap hose assembly
After you clean the hose, it is a good idea to cap the assembly on both ends. You can use plastic caps or heat shrink caps. Parker’s heat shrink caps or Clean Seal caps are a quick, easy, and clean alternative to cap your hose and fitting assemblies. Simply put a cap on a hose or fitting end and place in the heat shrink machine for a few seconds for a contamination-free hose assembly. The caps are available in fifteen different sizes and come in package or bulk quantities to fit your specific requirements.
By following these steps as your guideline, you should achieve a properly assembled hose. Parker Hannifin has many resources to help with your hydraulic hose, fittings and equipment needs including online literature that outlines the proper hose assembly techniques.
-
Durable 3/8 Rubber Air Hose | Braided & Heat-Resistant
NewsAug.06,2025
-
Premium Rubber Air Hose 3/8 Inch - Durable & Flexible
NewsAug.05,2025
-
Premium 3/8" Rubber Air Hose - High Strength & Flexible
NewsAug.04,2025
-
Rubber Air Hose 3/8 - Durable & High Pressure Industrial Grade
NewsAug.03,2025
-
Premium 3/8 Rubber Air Hose | Durable & High-Pressure
NewsAug.01,2025
-
Durable 3/8" Rubber Air Hose | High Pressure Resistant
NewsJul.31,2025

